| View previous topic :: View next topic |
| Author |
Message |
giz
Site Admin
Joined: 18 Jun 2011
Posts: 377
Location: Bromsgrove
|
 Posted: Sat Aug 20, 2011 12:55 pm Post subject: Posted: Sat Aug 20, 2011 12:55 pm Post subject: |
 |
|
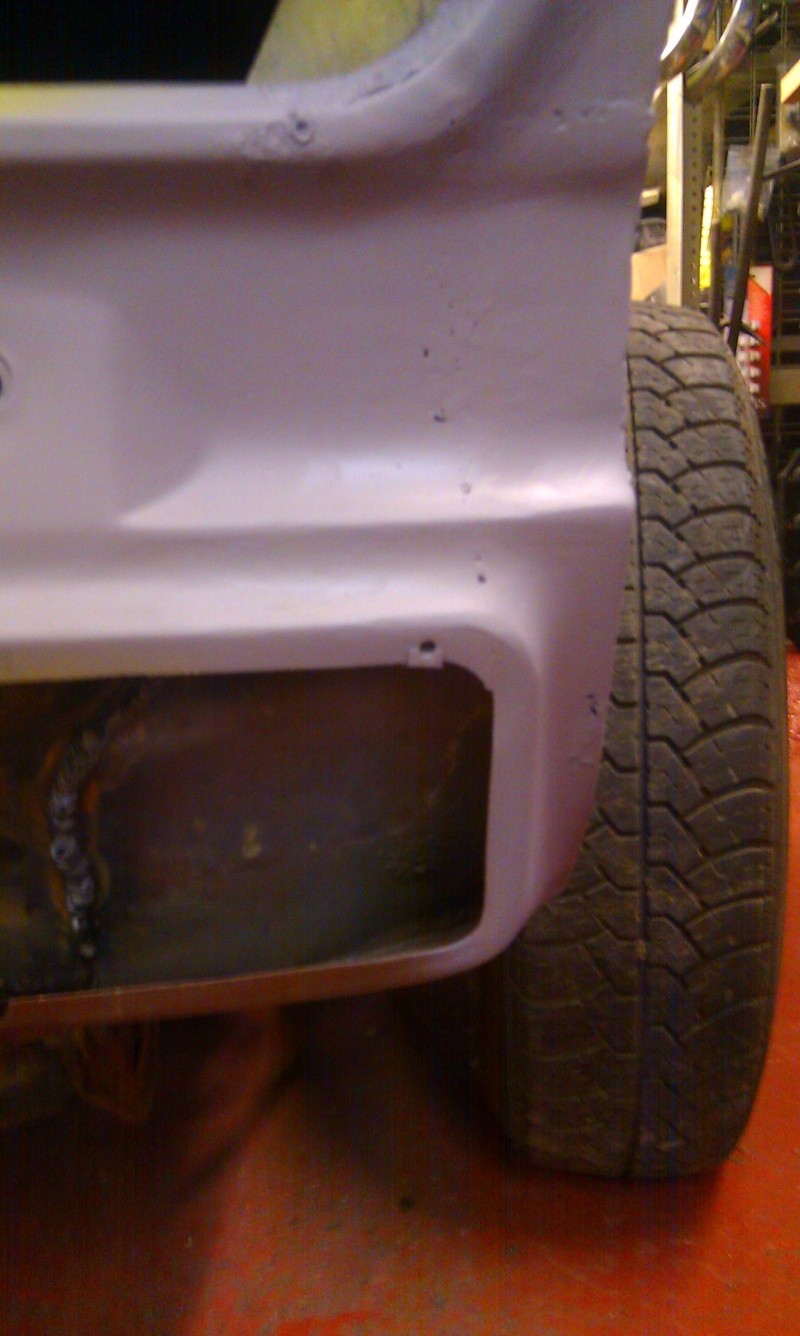
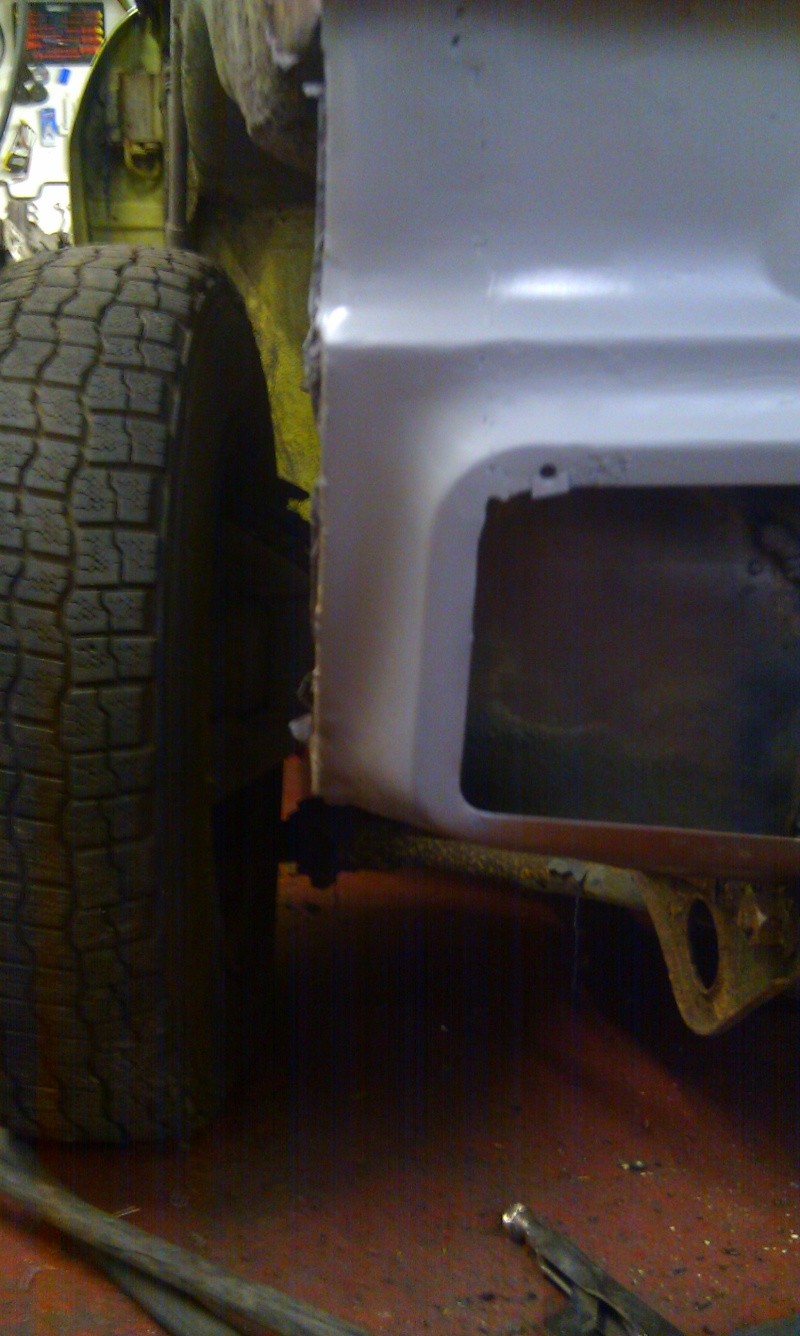
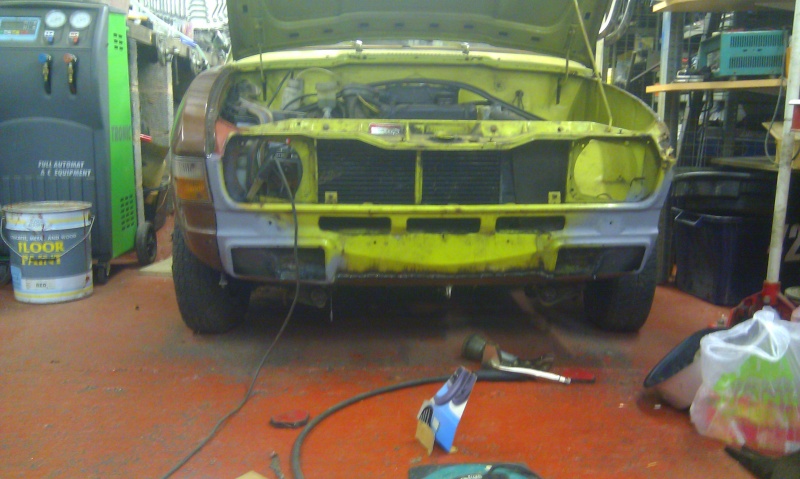
I had a few hours down the garage this week and got a fair bit of welding done to the front panel. The bottom grill/fog light areas have now been welded and ground back and just need a small skim of filler. The bottom if the panel is welded but not finished and half of the o/s light mounting panel has been chopped out repaired and replaced.
I also mocked up the o/s wing and everything lines up so I've done something right 
 |
|
| Back to top |
|
 |
giz
Site Admin
Joined: 18 Jun 2011
Posts: 377
Location: Bromsgrove
|
| Posted: Tue Sep 13, 2011 11:06 am Post subject: |
|
|
i made a small amount of progress last night but sadly the battery on my phone was flat so no pictures sorry.
i've wire wheeled the inner wing area and repaired on the o/s and chopped out the 3 rusty areas - front end of the sill where it meets the wing, the area next to this on the inside of the arch/floor and at the very front where the chassis bolts on. i have a repair panel for that part but as the n/s is worse i decided to keep it and just copy the part i needed with mild steel.
i've just got to finish grinding back the welds, paint it with the black stuff and i can finally get the new wing on.
were the cars painted with an under seal on the underneath and inside the wings before being sprayed? it certainly seamed that way as it was flicking of the wheel onto my face!  |
|
| Back to top |
|
|
giz
Site Admin
Joined: 18 Jun 2011
Posts: 377
Location: Bromsgrove
|
| Posted: Mon Sep 19, 2011 9:58 pm Post subject: |
|
|
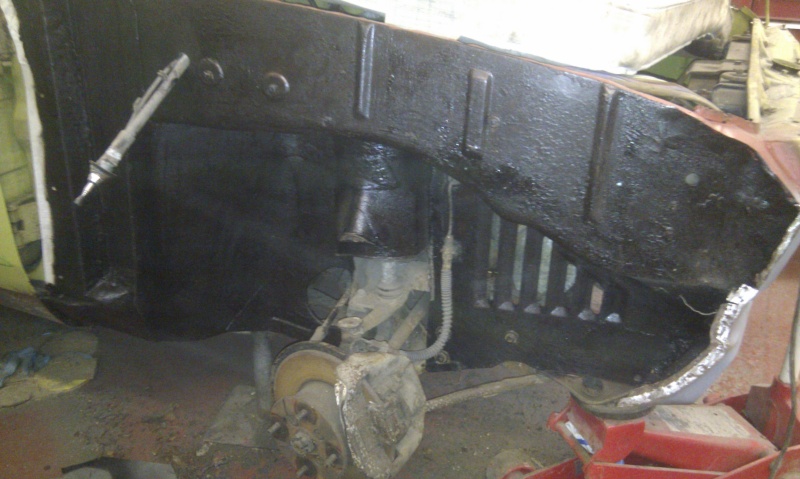
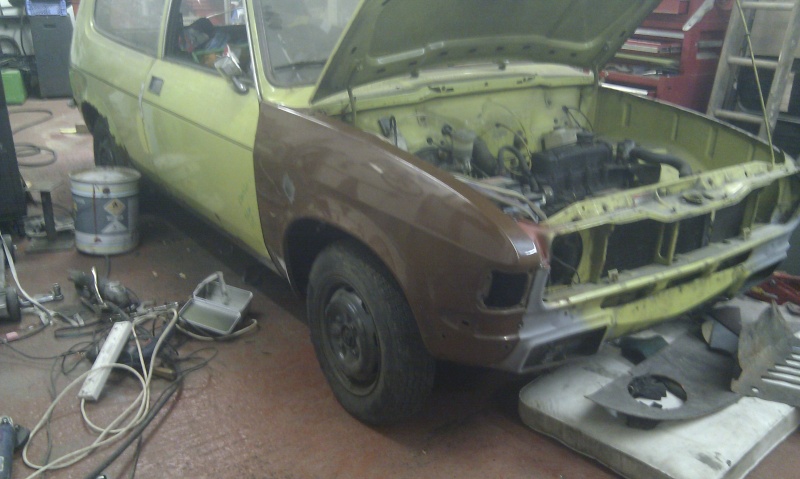
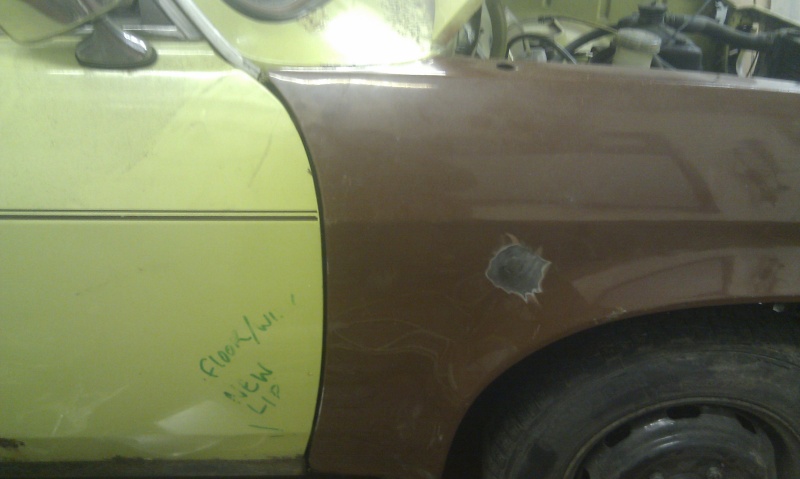
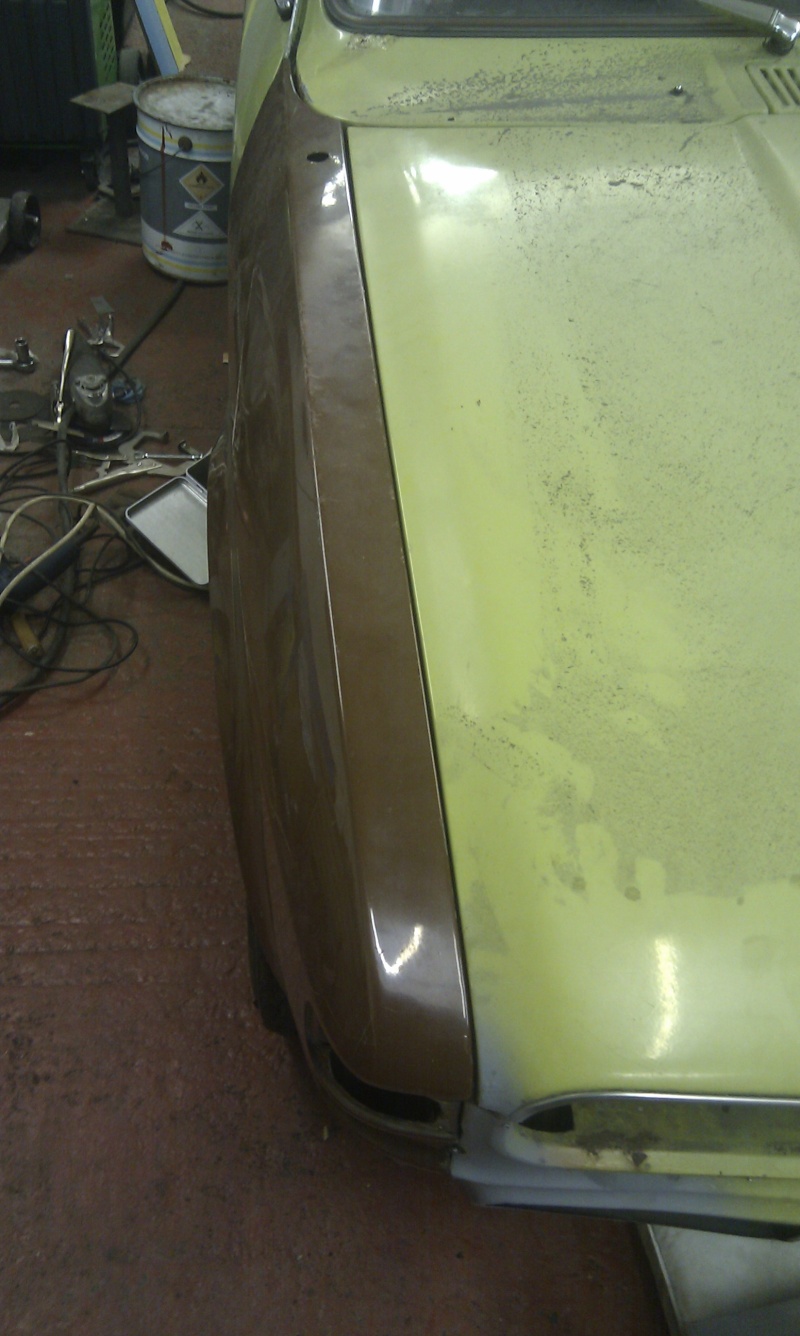
i'm very pleased with tonights progress, the o/s inner wing is now 100% rust free (wheel side at least).
the welding is now finished, ground and painted, i have also cleaned up the inside of the replacement wing and got it almost completely fitted.
all that is left to do is finish welding to the front panel and sill and i can move on to the n/s.
a few pictures.....
 |
|
| Back to top |
|
|
Colin T
Joined: 13 May 2007
Posts: 1282
Location: N.E. Hampshire
|
| Posted: Tue Sep 20, 2011 9:46 pm Post subject: |
|
|
Great stuff, you're not hanging about with this! Keep up this cracking pace and it'll be done in no time.
_________________
Hell has frozen over...... the car formally known as 'Heap' is back on the road! |
|
| Back to top |
|
|
giz
Site Admin
Joined: 18 Jun 2011
Posts: 377
Location: Bromsgrove
|
| Posted: Wed Sep 21, 2011 9:15 am Post subject: |
|
|
| thanks colin, i'm spending about 7 hours a week working on it at the moment. i'm going down the garage again today but only to sort through all the spare parts to go on ebay. i need to make some room as my friend andy needs to get his '64 mini in there as well to start work on it. |
|
| Back to top |
|
|
giz
Site Admin
Joined: 18 Jun 2011
Posts: 377
Location: Bromsgrove
|
| Posted: Wed Sep 21, 2011 2:10 pm Post subject: |
|
|
i squeezed in 2 hours down the garage today, the spare parts/tools/rubbish was piling up in the back of the estate so pull pulled everything out and had a quick tidy.
then to make some room i unbolted the drivers seat but had to cut one stubborn bolt in half.
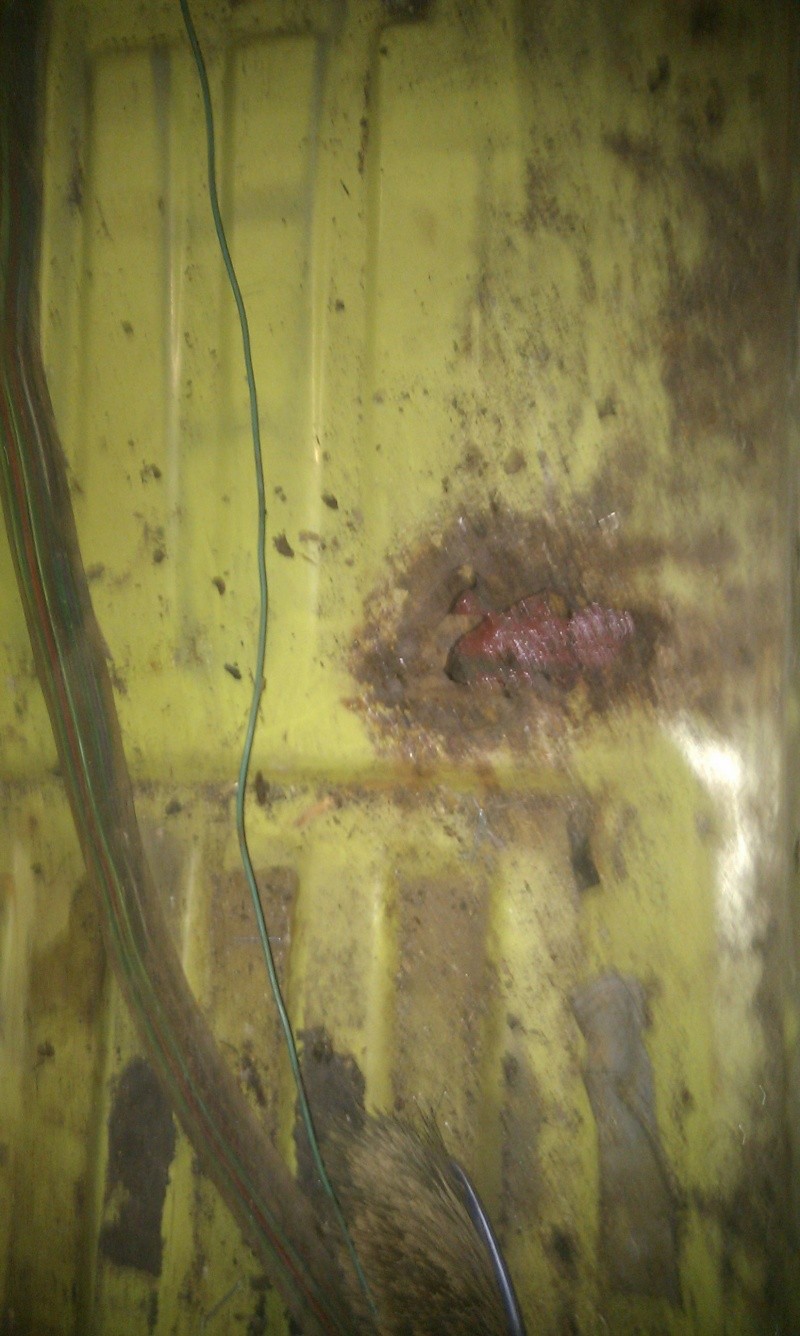
then as the rust was exposed i started making a repair panel for the front drivers side floor pan.
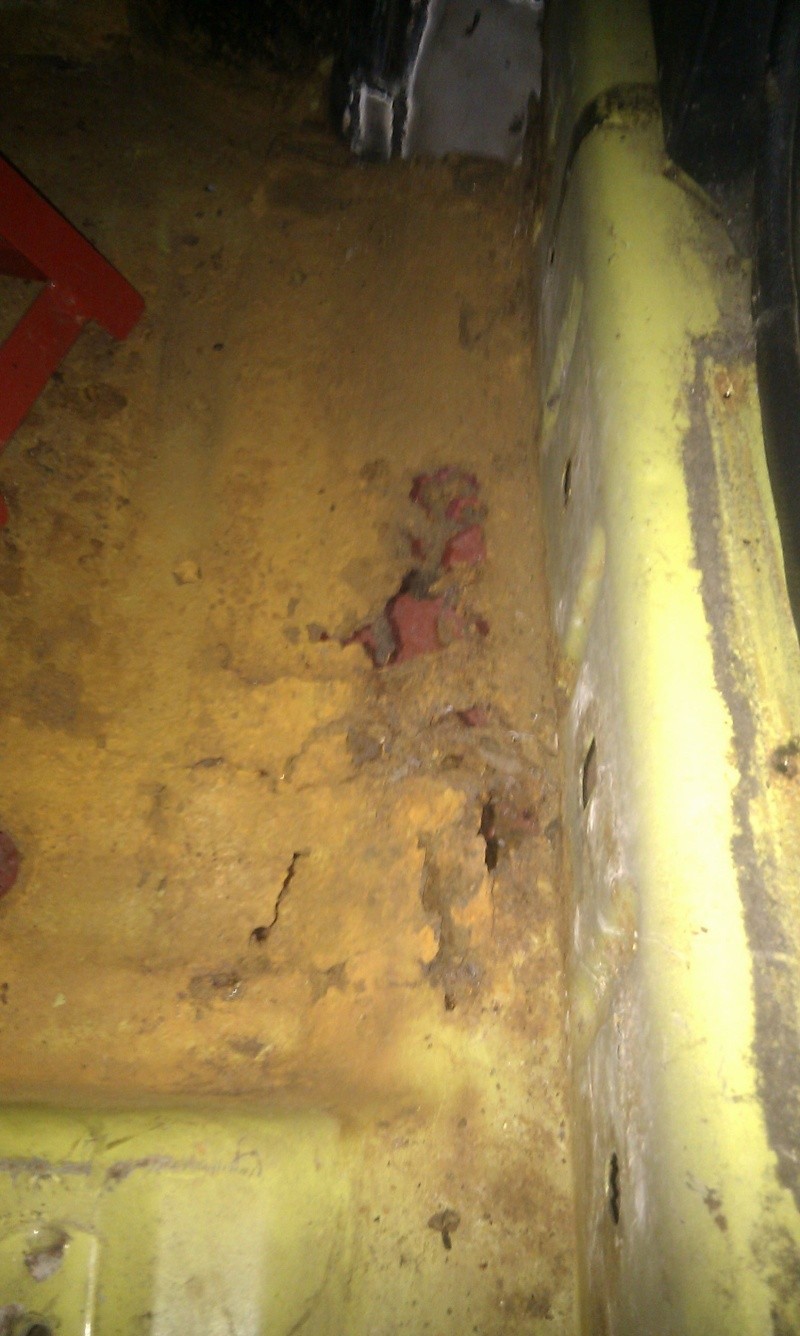
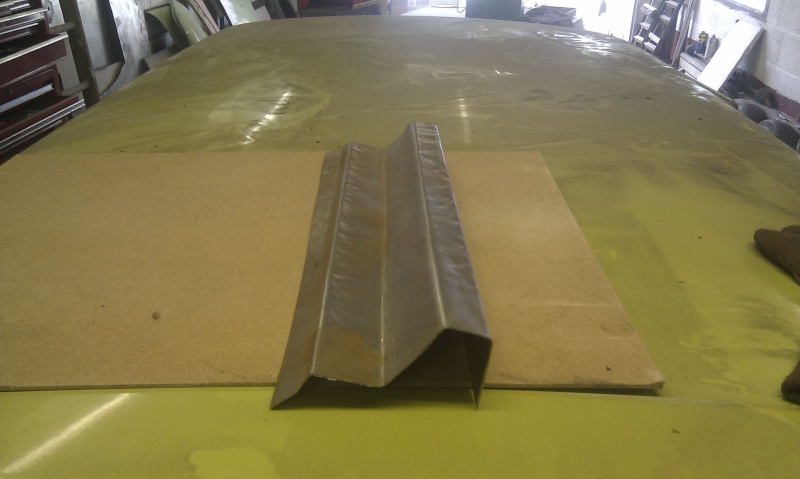
the angles aren't quite right yet but it shouldn't take too much work to be able to fit it.
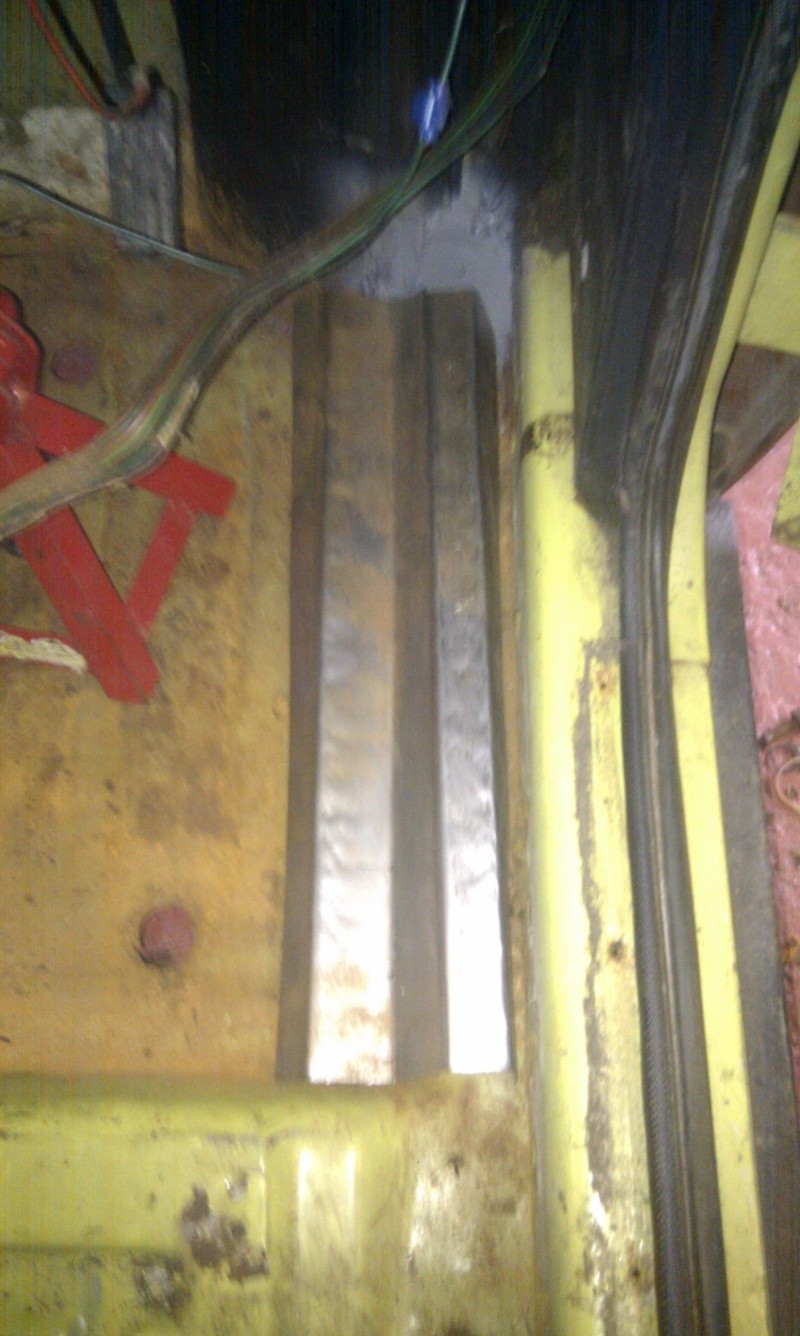
after that's done i can move on to the seat mount
 |
|
| Back to top |
|
|
giz
Site Admin
Joined: 18 Jun 2011
Posts: 377
Location: Bromsgrove
|
| Posted: Thu Sep 29, 2011 8:51 am Post subject: |
|
|
last nights progress.......
in have finished repairing the front drivers floor and i'm pleased with the way it looks.

i've got 2 patches to finish off in the rear and i think i'm going to have to start a full strip down so that i can roll the car onto it's side and give the underside the same treatment.
since the chassis also needs some attention i can do that at the same time. i really didn't want to have to roll it over but it's necessary i think since the floor pans are double skinned and the bottom skin is very very rotten 
and since i've got to do the full strip down i'll need somewhere to put all the parts, hence why all my surplus spares will be going on ebay as a job lot in the next few days. |
|
| Back to top |
|
|
giz
Site Admin
Joined: 18 Jun 2011
Posts: 377
Location: Bromsgrove
|
| Posted: Fri Oct 07, 2011 7:12 am Post subject: |
|
|
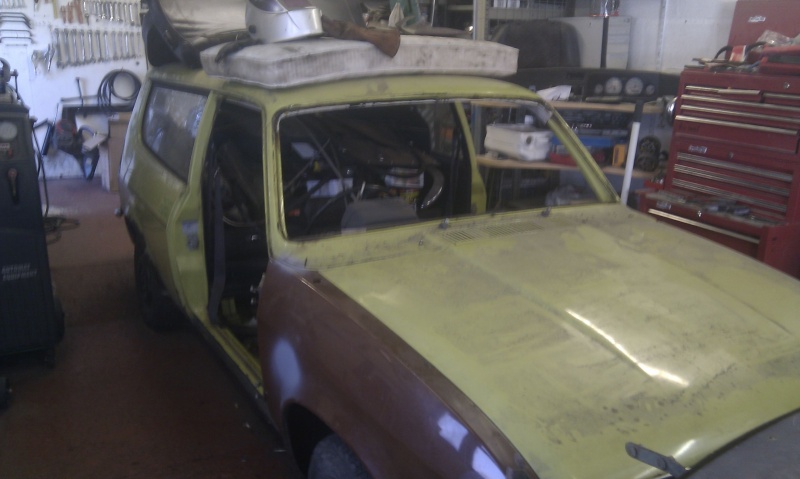
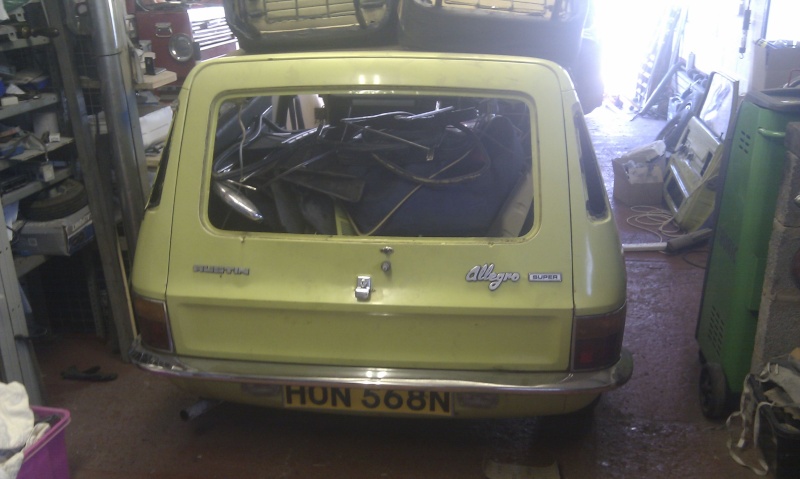
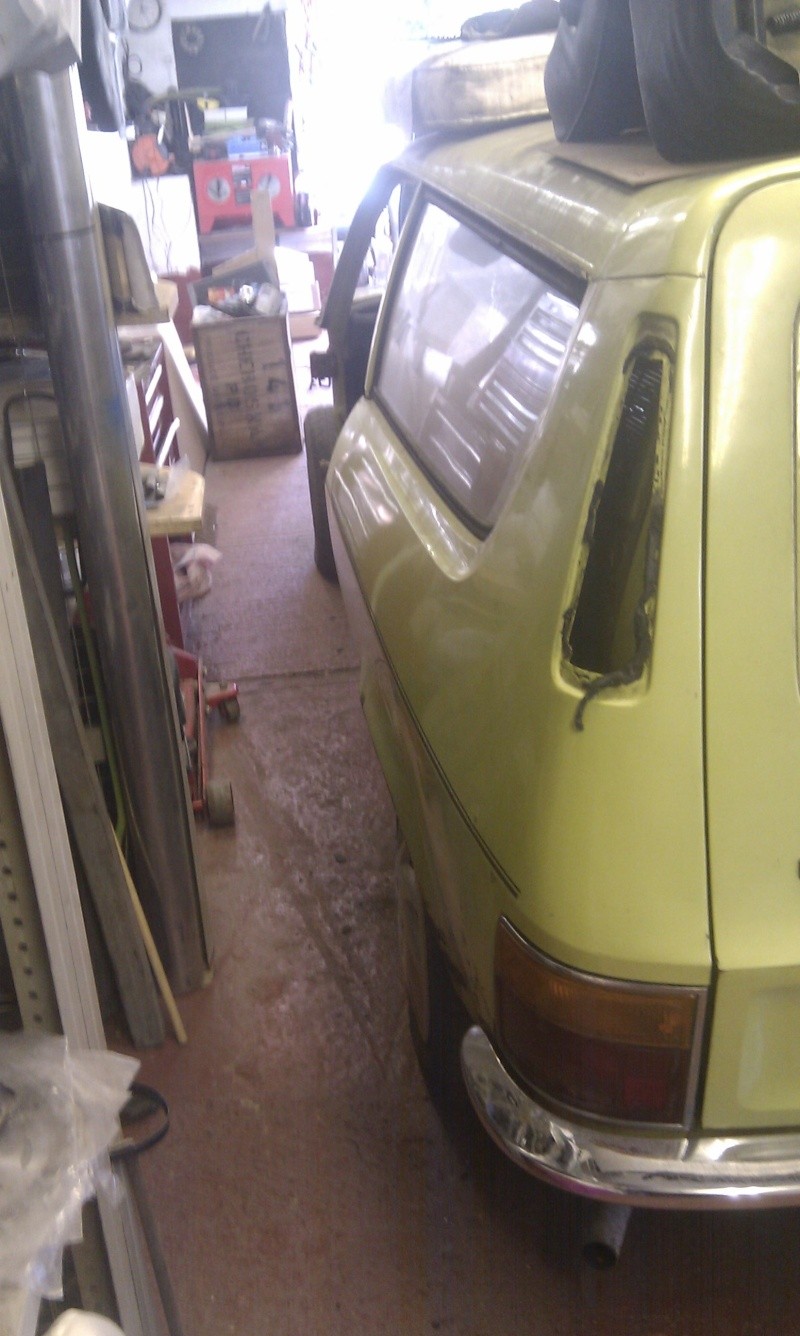
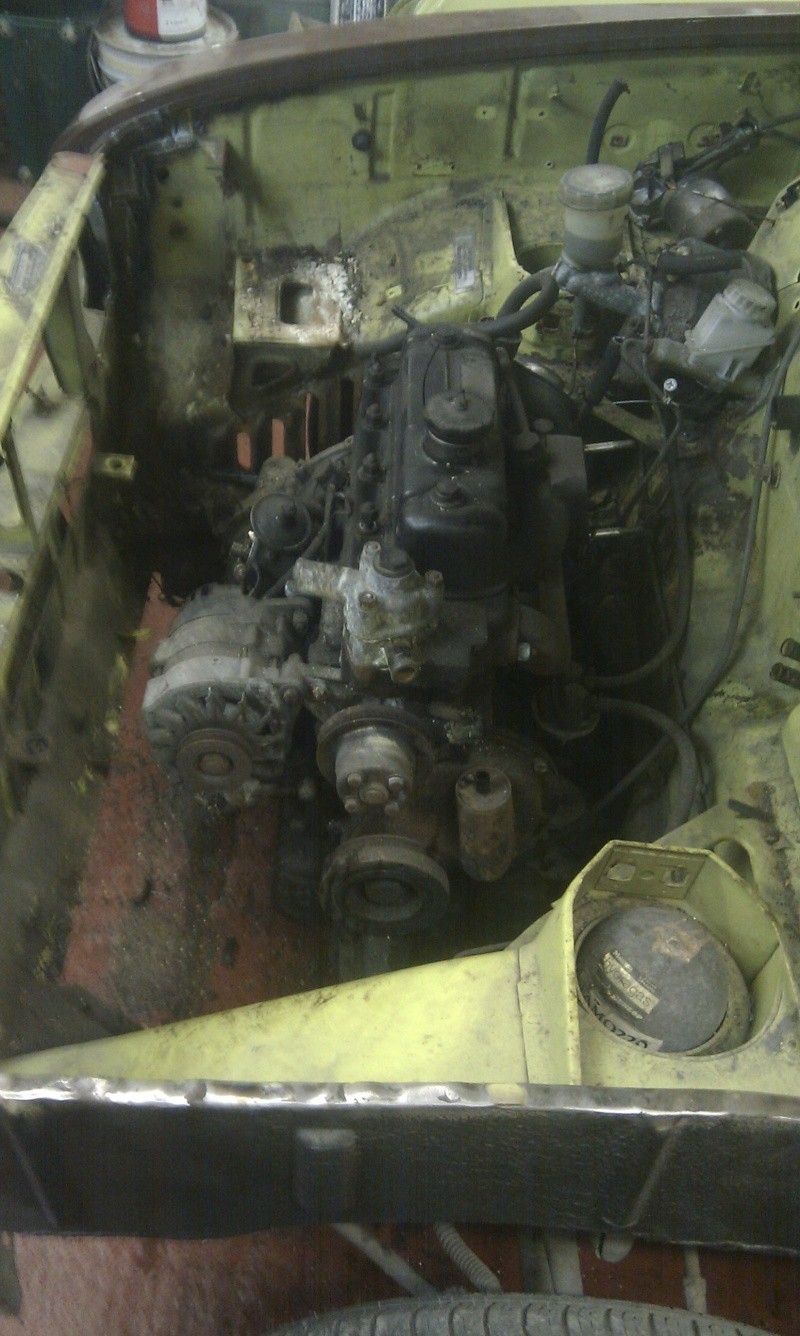
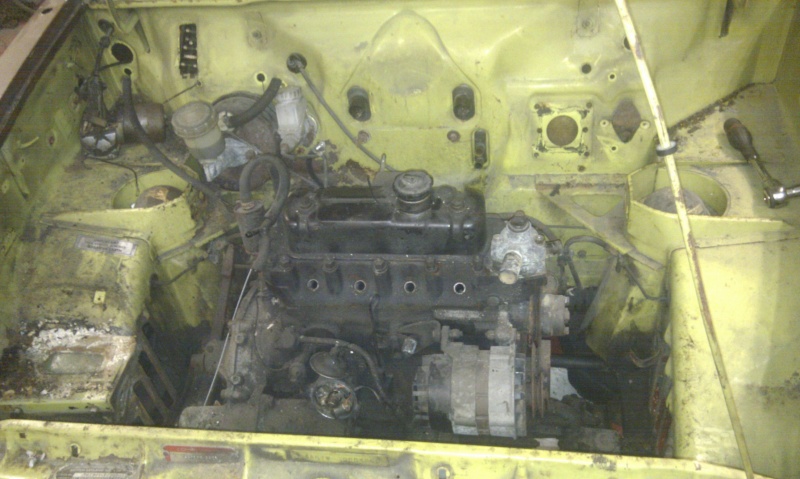
the strip down has begun! i'm at a point now where i need more space, everything i have removed from the car is being put inside the car and i can't go any further until i find some where to put it all
the rear drivers floor has had a few patches in the mean time.
i have also removed the surface rust on the rear arch where i have found my second bit of filler, the first being in the drivers foot well! the arch is in pretty good condition, much better than i was expecting.
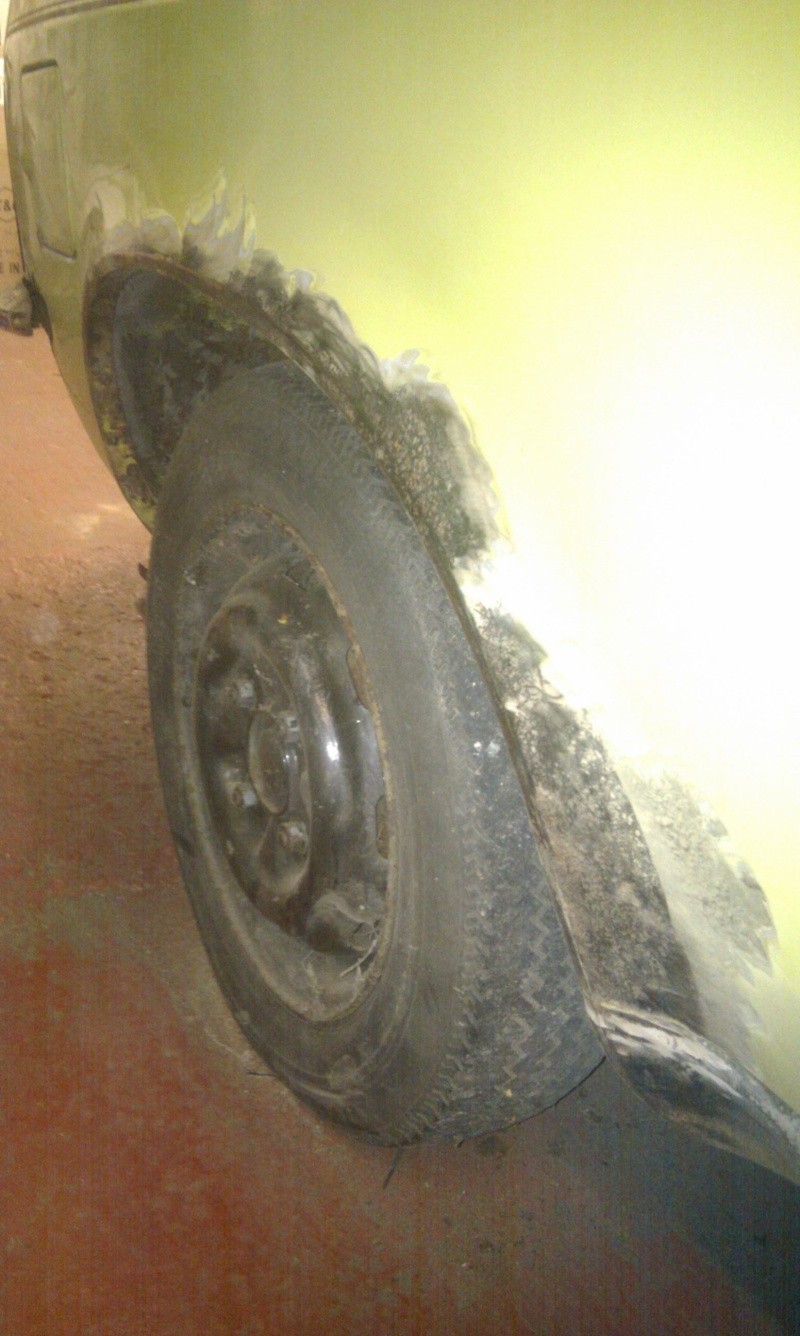
pictures of the strip down
yesterday i sent off my £5 postal order along withh a v888 to the dvla, hopefully what should come back is details of the former keepers, british leyland being the first and mr norwood being the second. as i all ready know who they were some might ask why i've bothered but having an official document confirming leyland as the original owners is the idea behind it. i'm also hoping they will be able to copy any other documents for me such as old v5's which they used to do but as everything is electronic now i doubt it.
Whilst i was at it and going to the post office anyway i decided i would write a letter addressed to the family of mr norwood, i have asked nicely if they can give me any more information, photos, memories etc and included a note pad, pen and sae. i have no idea if the family still live there but fingers crossed!
the strip down has begun! i'm at a point now where i need more space, everything i have removed from the car is being put inside the car and i can't go any further until i find some where to put it all
the rear drivers floor has had a few patches in the mean time.
i have also removed the surface rust on the rear arch where i have found my second bit of filler, the first being in the drivers foot well! the arch is in pretty good condition, much better than i was expecting.
pictures of the strip down
yesterday i sent off my £5 postal order along withh a v888 to the dvla, hopefully what should come back is details of the former keepers, british leyland being the first and mr norwood being the second. as i all ready know who they were some might ask why i've bothered but having an official document confirming leyland as the original owners is the idea behind it. i'm also hoping they will be able to copy any other documents for me such as old v5's which they used to do but as everything is electronic now i doubt it.
Whilst i was at it and going to the post office anyway i decided i would write a letter addressed to the family of mr norwood, i have asked nicely if they can give me any more information, photos, memories etc and included a note pad, pen and sae. i have no idea if the family still live there but fingers crossed! |
|
| Back to top |
|
|
giz
Site Admin
Joined: 18 Jun 2011
Posts: 377
Location: Bromsgrove
|
| Posted: Thu Oct 13, 2011 2:02 pm Post subject: |
|
|
someone on another forum has rightly pointed out that it is not studley castle in the press photo!
after half an hour or so searching google images i have discovered it is in fact delhouise castle in Edinburgh!

Last edited by giz on Sat Oct 15, 2011 8:08 am; edited 1 time in total |
|
| Back to top |
|
|
giz
Site Admin
Joined: 18 Jun 2011
Posts: 377
Location: Bromsgrove
|
| Posted: Sat Oct 15, 2011 8:06 am Post subject: |
|
|
7 hours work over 2 nights and the front end is now as stripped as i want it to be for now, the only things left that will be removed at a later date are suspension and steering components.

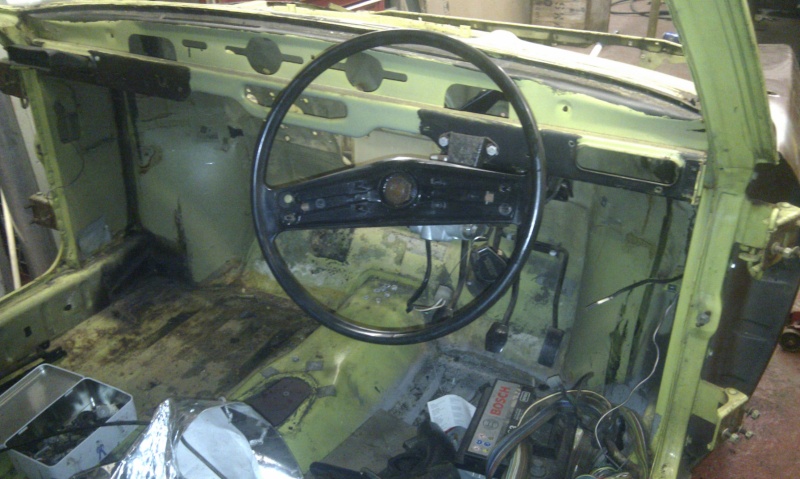
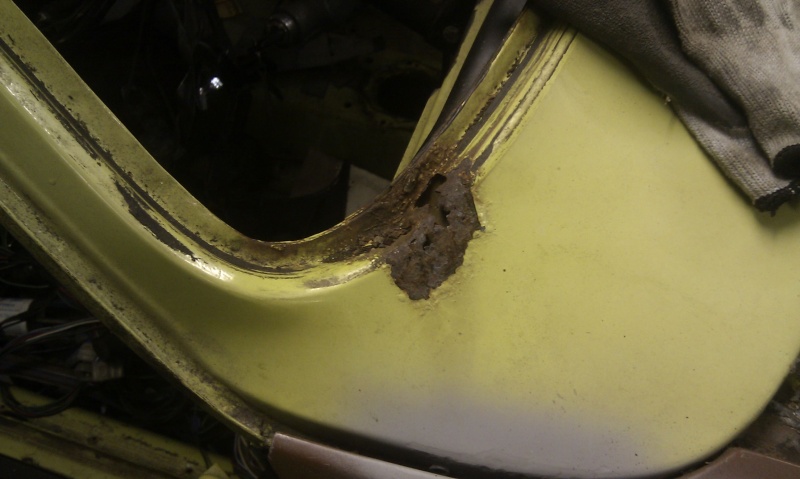
i also had a poke at the windscreen/scuttle area and it looks like that needs attention too!
the next job is too empty the car into boxes and then start stripping out the rear interior, lights, bumper and push the rear side windows out. i'm going to have to replace the seals in both rear windows as they have rotted at the bottoms, does anyone know where i can get some new ones from? |
|
| Back to top |
|
|
giz
Site Admin
Joined: 18 Jun 2011
Posts: 377
Location: Bromsgrove
|
| Posted: Sat Oct 15, 2011 8:16 am Post subject: |
|
|
the other question i have is what cylinder head did the allegro estate come fitted with?
i noticed yesterday that there wasn't a bypass hose so i took the rocker cover off and the head on it is a 12g940, is this correct? |
|
| Back to top |
|
|
Colin T
Joined: 13 May 2007
Posts: 1282
Location: N.E. Hampshire
|
| Posted: Sat Oct 15, 2011 1:11 pm Post subject: |
|
|
Not sure where you can get the new window seals from, you may have to use a 'universal' type cut to suit if you want a new seal. I'd try putting adverts out for good used ones.
The cylinder head number sounds right, I'm pretty sure that is the same as mine. Exactly same engine and head as the saloon. What is the bypass hose you are referring to, is it the one coming from the tap on the LHF corner of the head on Mini's? If so the Allegro only ever had a blanking plate fitted there.
_________________
Hell has frozen over...... the car formally known as 'Heap' is back on the road! |
|
| Back to top |
|
|
giz
Site Admin
Joined: 18 Jun 2011
Posts: 377
Location: Bromsgrove
|
| Posted: Sat Oct 15, 2011 1:54 pm Post subject: |
|
|
i've been advised that reliant kitten rear seals are the same so i can try looking for those as well.
the bypass i was looking at was the water pump/cylinder head |
|
| Back to top |
|
|
Laurence
Joined: 17 Jul 2007
Posts: 1408
Location: Plymouth
|
| Posted: Sun Oct 16, 2011 5:10 pm Post subject: |
|
|
Interesting to hear about the Reliant Kitten side window seals, let us know what you find out.
There was never a by-pass hose fitted to the Allegro A or A+ engines.
Water pump GWP 102 which didn't have a spout for a by-pass hose was originally used, but water pump GWP 134 which did have a spout was then used along with rubber blanking cap CAM 4126 & GHC 709 hose clip.
So if you can only obtain GWP 134 you'll need the blanking plug & clip.
Some cylinder heads had a blanking plug 88G 619 in the head where the by-pass spout would have fitted, some cylinder heads didn't have any drilling for the by-pass spout so didn't require the blanking plug. |
|
| Back to top |
|
|
giz
Site Admin
Joined: 18 Jun 2011
Posts: 377
Location: Bromsgrove
|
| Posted: Wed Oct 19, 2011 2:35 pm Post subject: |
|
|
| would my car have had plastic sill finishers fitted? it's un clear from the launch photo but there is a black area at the bottom of the rear arch. at the moment it's just painted black |
|
| Back to top |
|
|
|

 FAQ
FAQ Search
 Usergroups
 Register
 Profile
 Log in to check your private messages
 Log in


